Dive into this how-to for successfully planning and executing your migration from SharePoint 2013 to SharePoint Online—exploring three options and the specific steps each entails.
You’ve been told that your organization is moving to SharePoint Online and that moving to the cloud is good—well, you already know that. However, if you’ve been managing SharePoint 2013 for a while, you also know you have a potentially massive amount of accumulated documents stored in your on-premises system, and getting it safely into SharePoint Online could be a mammoth task.
But it doesn’t have to be.
This how-to will help you successfully plan and execute your migration from SharePoint 2013 to SharePoint Online—exploring three options and the specific steps each entails.
Table of contents
- SharePoint 2013 and SharePoint Online: what’s the difference?
- Advantages of SharePoint Online vs. SharePoint 2013
- Pre-migration considerations for your current SharePoint server
- Choose your migration adventure—but plan your trip before you set out
- How to migrate SharePoint 2013 to SharePoint Online using the manual method
- How to migrate to SharePoint Online from 2013 using the hybrid method
- How to migrate to SharePoint Online using the Microsoft SharePoint migration tool
- How to migrate with a third-party tool (such as ShareGate)
- Why migrate from SharePoint 2013 to SharePoint Online?
SharePoint 2013 and SharePoint Online: what’s the difference?
Let’s examine the key differences between the two to understand the argument for migrating to the cloud.
In the blue corner, we have SharePoint 2013—an on-prem collaborative platform that allows companies to build and manage web applications, portals, and content. For over a decade, organizations have enjoyed advanced features for customization and integration, including workflows, custom web parts, and server-side development.
However, as an on-prem system, it requires a lot of infrastructure maintenance and, possibly worst of all: regular software updates must be made manually!
And in the red corner, we have SharePoint Online—a cloud-based service hosted by Microsoft. It offers automatic software updates and much lower overhead in terms of its maintenance. It offers all the benefits of SharePoint 2013 and more.
Perhaps one of the biggest differences is that unlike SharePoint 2013, SharePoint Online offers seamless integration with the Microsoft 365 suite of applications, providing the offsite and mobile accessibility that organizations transitioning to a hybrid or remote workplace need.
I think we’ve got our winner!
Advantages of SharePoint Online vs. SharePoint 2013
There are many reasons why migrating to SharePoint Online (the sooner, the better) is a smart move. Here are some of the biggest ones:
- SharePoint 2013 end of life: Microsoft has ended support of SharePoint 2013, which means you can expect maintaining your system to become progressively more difficult. With SharePoint Online, you’ll have plenty of avenues to get the support you need, either directly through Microsoft or in the Microsoft 365 community forum for SharePoint.
- Maintenance: A SharePoint Online migration will eliminate the need for physical server maintenance and manual updates. Microsoft manages these things for you, freeing up your time to work on valuable IT initiatives for your organization.
- Accessibility: SharePoint Online can be accessed from anywhere on any device with an internet connection. With more organizations now offering remote work options, this accessibility is essential.
- Scalability: With no on-prem infrastructure to contend with, SharePoint Online makes it easy to scale up or down based on the needs of your business.
- Integration: The enhanced integration with other Microsoft 365 products makes collaboration internally and externally easier and more productive.
- Cost-effectiveness: By eliminating the infrastructure costs and offering flexible subscription plans, SharePoint Online migration will offer a highly cost-effective solution for organizations of any size. And, when you consider the additional productivity gains for your end users and the IT time saved, migrating becomes a no-brainer.
- Security: Microsoft is a leader in cloud security and has equipped SharePoint Online with a robust set of advanced security features, including threat protection, data loss prevention, and more controlled sharing.
Pre-migration considerations for your current SharePoint server
Before we jump into the different ways you can manage your migration from SharePoint 2013 to SharePoint Online, let’s look at everything you need to consider as you plan your migration.
Understanding the existing SharePoint 2013 environment
Migration planning requires a full inventory of your SharePoint 2013 environment to estimate the time required accurately. Before you begin, you’ll need a full understanding of the following:
- All the different types of data you’ll be migrating and their size (site collections, libraries, lists, content types, workflows, and other elements)
- Any customizations and integrations you’ll need to replicate in SharePoint Online
- All user roles, permissions, and security settings in your existing environment
Planning and designing the SharePoint Online architecture
You also need to understand your organization’s business requirements and how SharePoint Online features and capabilities can be used to fulfill them. This will help you build out your SharePoint Online environment in a way that ensures your existing site collections, libraries, lists, and workflows will continue to function as expected after your migration.
Checking the compatibility and requirements
Ensuring the compatibility of SharePoint Online with all the business systems your organization currently relies on is critical to a successful migration. A good place to start is to review Microsoft’s guidelines and best practices for migrating to SharePoint Online. You’ll also need to check on any customizations or third-party integrations in your current system to ensure you won’t encounter any compatibility issues.
Backing up important data
Developing a robust data backup strategy before you start your migration can make the whole process a lot less stressful. Backups offer peace of mind in knowing that if something goes wrong during your migration, you can roll it back and figure out how to fix it!
To understand all the steps necessary to ensure a smooth and successful migration—including how to back up your data—check out our step-by-step SharePoint migration checklist.
Choose your migration adventure—but plan your trip before you set out
There are three options for migration depending on the size, complexity, and degree of customization you’ve built into your SharePoint 2013 environment. You can do the whole thing manually, use a hybrid process that uses automation to reduce some of the manual work involved, or you can kick back and let a migration tool do the work.
Let’s look at some of the pros and cons of each method:
- Manual: Copying your files over into SharePoint Online gives you full control but can be time-consuming and difficult depending on the size and complexity of your current system. You’ll also lose file metadata, including the “Created by” and the “Created date,” which gets replaced by the person copying the files and the date the file is copied.
- Hybrid: This allows a phased, gradual transfer, which can reduce the disruption to your business that migrating all at once can create. However, the downside is that you must maintain two separate environments throughout the process.
- Tools: Microsoft provides a SharePoint migration tool (SPMT), which is good for simple file migrations from document libraries that don’t have any document sets, lookups, or custom metadata. But for more complex migrations, you’ll find the functionality of the SharePoint Migration Tool falls short.
In addition to Microsoft, third-party tools can automate and greatly simplify the migration process. However, if you decide to go this route, plan on evaluating your options because not all third-party tools are created equal. Some offer more features than others, some may have limitations relative to your unique needs, and there are different costs to consider.
When considering a migration project, it’s crucial to understand the SharePoint Migration Tool limitations that might impact your process. These limitations play a pivotal role in shaping your decision-making.
How to migrate SharePoint 2013 to SharePoint Online using the manual method
Manual migrations are an option, but they’re not one we recommend. Let’s look at ‘the how’ and then move on to more efficient and effective methods.
Step 1: Prepare the SharePoint Online environment
If you’re migrating from SharePoint 2013 to SharePoint Online manually, you first need to design an information architecture for your business.
If you want to implement the same structure in your SharePoint Online as you have in your SharePoint 2013 environment, you’ll have to map all sites and sub-sites, every site collection and document library, every list, and all the content types to your SharePoint Online site.
Step 2: Set up user roles, permissions, and any customizations or integrations required
For a smooth transition for your end users, you’ll need to establish user roles and permissions in the SharePoint Online environment based on your existing environment in SharePoint 2013.
If you need to make any changes in permissions or if you have any customizations or integrations you need to replicate in SharePoint Online, you’ll also want to get those set up in this step.
Step 3: Migrate content using the database-attach method
To migrate SharePoint 2013 to SharePoint Online, you first need to prepare your SharePoint server using the database-attach method.
Step 4: Detach the database from SharePoint 2013 server, copy it to the SharePoint Online server, and reattach it
Once you’ve set up your SharePoint Online server, you’ll need to detach your SharePoint 2013 database from your on-prem server and attach it to the new Microsoft SharePoint server you prepared in the previous step.
Step 5: Test the migrated site to ensure all content and functionalities are working correctly
Now it’s time to perform a thorough check of the results of your SharePoint Online migration, including:
- All SharePoint sites and every site collection, document library, list, and other types of content, testing it all to ensure everything looks right and functions as expected
- Any customizations and integrations to ensure they’re working correctly and that the user permissions are implemented as expected
It’s also a good idea to run multiple tests at different times to ensure consistent performance and functionality of the migrated site.
Best practices for migrating your SharePoint 2013 to Microsoft 365 manually
Here are three best practices for manual migrations to ensure you can restore data even if something goes wrong:
- Create a detailed plan for your migration.
- Back up all your data before you begin the process.
- Test your backup to verify that you captured everything before you migrate.
How to migrate to SharePoint Online from 2013 using the hybrid method
Step 1: Connect the SharePoint 2013 and SharePoint Online environments
The hybrid migration method involves connecting your on-prem server to your SharePoint Online Server and running them simultaneously. This gives you time to ensure your new SharePoint Online environment is configured properly and all your SharePoint 2013 content is moved over, tested, and verified.
Step 2: Set up a hybrid environment to connect SharePoint 2013 and SharePoint Online, allowing users to access both
Before you begin, determine which elements of your SharePoint 2013 environment (existing sites, services, and data) will remain on-prem and which will move to the cloud. Then you’ll establish single sign-on (SSO) to ensure users can easily access SharePoint 2013 and SharePoint Online.
You’ll also want to configure the search function to work across both environments, so end users will get unified results no matter which environment the content resides in.
Step 3: Use Microsoft’s hybrid picker tool to help configure the connection
If you meet Microsoft’s hybrid deployment prerequisites, you can use the Hybrid Configuration Wizard to configure the connection between your on-prem server and SharePoint Online site.
This wizard is a tool that simplifies connecting your on-premises server with SharePoint in Microsoft 365. You only need your SharePoint login credentials to access the SharePoint Server farm server. Then the wizard will guide you through the configuration steps to establish the connection. It automates some setup steps, making connecting and using SharePoint in Microsoft 365 easier.
Step 4: Migrate gradually and maintain both environments
Hybrid migration allows more time to complete the process, which can be both a benefit and a drawback, depending on your goals. However, if your on-prem environment is cluttered, hybrid migration offers more time to organize before transitioning to SharePoint Online.
Step 5: Gradually move site collections, libraries, and lists from SharePoint 2013 to SharePoint Online
Prioritize the order of migrating components by their importance. Begin with less critical or smaller sites to understand the process and address any issues before moving on to larger or more critical elements.
Step 6: Monitor the performance and address any issues promptly
Regularly monitor system logs for errors and promptly address any performance or functionality issues to minimize the impact on end users. For next-level efficiency, use built-in monitoring tools or add third-party software like ShareGate for easier monitoring.
Step 7: Train users to adapt to SharePoint Online while still accessing SharePoint 2013
Hybrid migration allows time to train users on SharePoint Online’s new features. Create guides and tutorials to help them transition and use the platform efficiently.
How to migrate to SharePoint Online using the Microsoft SharePoint migration tool
Remember that the SharePoint Migration Tool (SPMT) is good only for simple file migrations from document libraries without document sets, lookups, or custom metadata. If this is a good option for your organization, it’s worth looking at the basic steps here.
Step 1: Download and Install the SharePoint Migration Tool
To use SPMT for an organization-level migration, you’ll need to be a Global or SharePoint admin in Microsoft 365. You can download and install the SPMT with this link.
Step 2: Determine what migration types you’ll need for your SharePoint 2013 data
There are four different migration types you can do with the SharePoint Migration Tool:
- SharePoint site with or without subsites
- List and document type libraries
- SharePoint workflows
- Bulk migration using a JSON or CSV file
Since your migration may require some combination of these, we’ll cover each migration type here. As with any migration method, checking your migrated files to ensure they migrated correctly is critical.
Step 3: SharePoint site with or without subsites
When you log into SPMT and start your migration, you’ll select the SharePoint Server and enter the URL for where your content is located.
You’ll then be prompted to log into the SharePoint Server site. Once done, you can migrate a single site or include all subsites. Then you enter the URL of your new SharePoint server.
At this point, you can keep the classic site structure or switch to the modern site structure. Depending on your choice, you must review and configure some additional settings before completing the site migration.
Step 4: List and document type libraries and SharePoint Server workflows
Although they’re considered different migration types, we cover list and document type libraries and SharePoint Server workflows in this step because the process is essentially the same.
The migration is pretty straightforward. From within SPMT, you start the migration, navigate to the file you’re migrating, and click next.
Then you’ll navigate to your SharePoint Online server and select the destination for your file. Note that this will be the SharePoint site and list you want to migrate to for a workflow migration.
Step 5: Bulk migration using a CSV or JSON file
Bulk migrations are more complex as they require you to build a migration file, either a JSON or CSV file, to upload to your destination. You can find instructions for both on Microsoft’s website. Once you develop your migration file, you can follow the same steps in SPMT to upload it to SharePoint Online.
How to migrate with a third-party tool (such as ShareGate)
Third-party tools can be a lifesaver for organizations that want to streamline and shorten their migration from SharePoint 2013 to SharePoint Online if they choose the right one. Plenty of them are out there, so evaluating your options is important. Of course, we think ShareGate should be on your list of tools to consider, and here’s why:
ShareGate is a comprehensive migration tool designed to simplify the process of even the most complex SharePoint migration with features including:
- Pre-migration checklists
- The ability to migrate sites, subsites, lists, libraries, and workflows with metadata intact
- The ability to migrate messages, calendars, and contacts, and bring essential attributes like attachments, folders, and categories
- Reporting capabilities that provide detailed insights into the migration process and error resolution
- Post-migration features like content reorganization, permission management, and audit reports
- Create a user mapping file for data content migration
To learn more about migrating with ShareGate, check out our robust library of SharePoint migration resources.
Remember that regardless of the method or tool you choose, a migration task can be highly complex depending on the size and complexity of your SharePoint 2013 environment. So, it’s always a good idea to have a backup and to thoroughly test your new SharePoint Online environment before fully transitioning users.
How one company shrunk SharePoint migration time by 15%
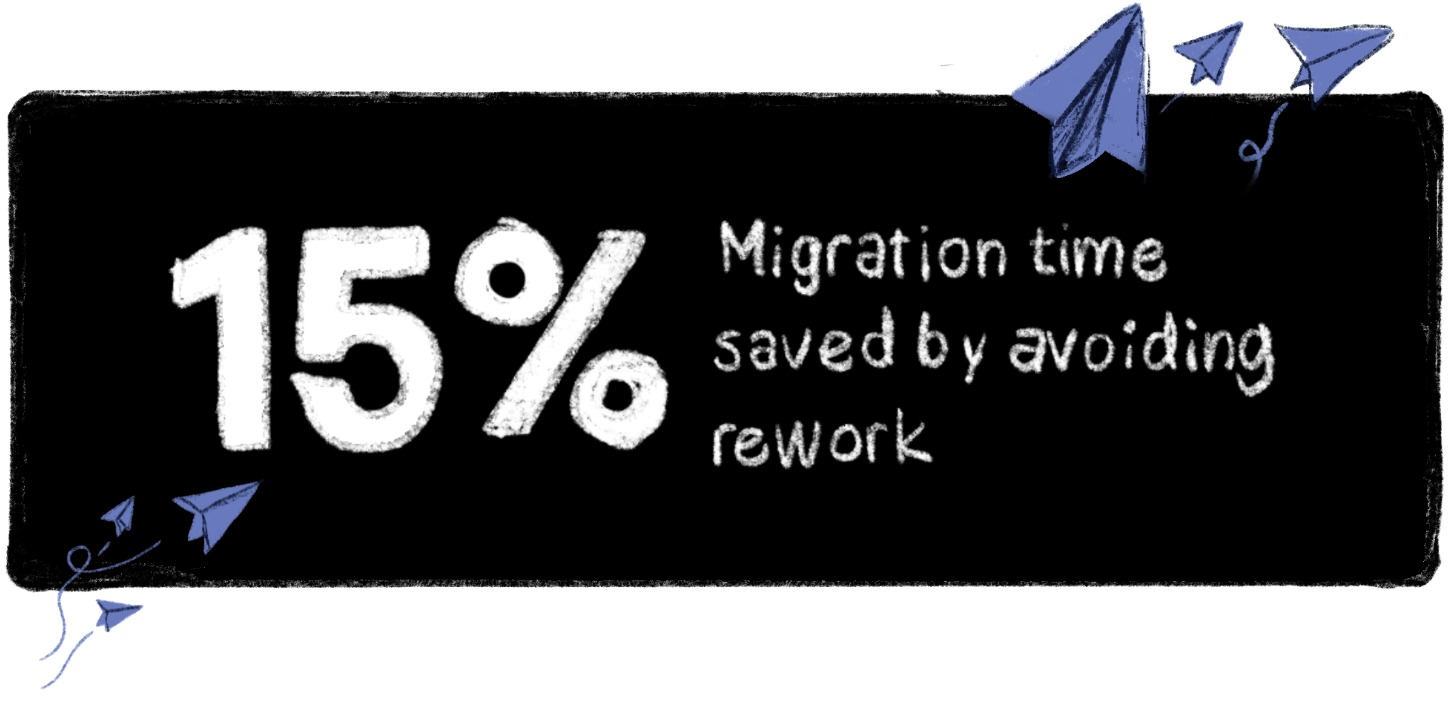
Over the years, we’ve helped many organizations successfully migrate their SharePoint environment in their journey to the cloud. Avvenire, a SharePoint solutions provider, uses ShareGate to offer its clients fast, comprehensive, and error-free migrations. By using ShareGate’s reports they save considerable time, every time.
Are you ready to streamline your migration process? Discover the power of ShareGate’s SharePoint migration assessment tool and take the hassle out of your next migration project.
Why migrate from SharePoint 2013 to SharePoint Online?
If you’re still using SharePoint 2013, the time has come to migrate to the cloud because Microsoft Support has ended. But that’s not a bad thing. When you consider all the benefits that await you on the other side of your migration to SharePoint Online, it almost makes you eager to get started (okay, maybe not eager, but at least more accepting of the idea).
Picture a world without the hassle of maintaining on-prem SharePoint servers and the ability to scale your tenant to suit your business needs effortlessly. Additionally, enjoy improved integration with all your Microsoft 365 tools, allowing you and your end-users to collaborate and share files securely from anywhere!
Make sure you don’t forget anything with our handy SharePoint migration checklist.