SharePoint Content Types seem to be quite the cause of confusion for many users. This article will help you understand one of the more difficult elements of SharePoint, as well as how to create and use Content Types to optimize your time, and simplify your daily tasks.
This is part of a bigger series, designed to teach you everything you need to know about SharePoint. So make sure to visit and bookmark the pages below, so you can reference them whenever you’re looking for SharePoint-related educational material.
Learning About SharePoint: Quick Guide
- Let’s begin with some SharePoint Basics
- SharePoint Online best practices and common issues
- SharePoint Columns and Column Types
- Advanced Column Types in SharePoint
- SharePoint 2013 User Interface & Navigation
- Learn about SharePoint Site Columns
- Learn about content types in SharePoint
- Understand, use and create SharePoint views
- Overview of Wiki, Publishing and Web Part Page Types in SharePoint
What are SharePoint Content Types?
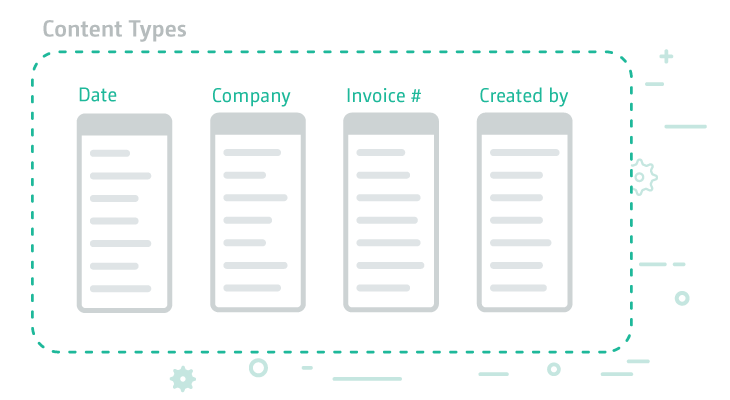
Content types are a set of columns that are grouped together to serve a specific purpose. For example, you could create a content type (group of columns) called « invoice » that you can then insert in every list or library that would need this type of information.
By the way, in case you’re reading this and wondering what lists, libraries and columns are, you should go back to the beginning of the “Learning About SharePoint: Quick Guide” series and everything will fall into place as you read the articles.
Why are content types useful?
A reusable set of columns
The good thing about content types is that anytime you need a specific set of columns, you’ll be able to simply add the designated content type to your list or library in one click, as opposed to creating or adding each column one at a time.
Multiple content types in the same list or library
Another advantage is that you can use many content types inside a list or library, which means you can have different sets of columns for different items or documents within the same list or library.
Wait a minute…
I have a feeling I may have confused a few people with that statement. Let me explain this in more detail.
Let’s say I have a library with documents related to conferences I am sponsoring. To facilitate my research, I decided to create a view that groups the documents related to each conference together.
The problem is that I need different types of documents within the same library. One that contains the description of the event, and one that contains the information about the invoice I received.
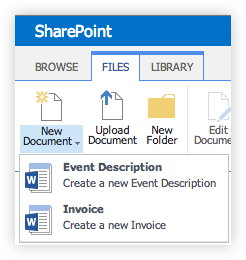
The solution is to create two content types – one for each type of document – and add them to my library. Here’s what will happen when you create a new document in your Event library after adding the two content types:
How to Create New SharePoint Content Types
We almost always start in the same place when creating something new in a SharePoint Site. By this point, you should’ve made the connection between creating something in your Site and Site Settings. I think you know where I’m going with this; let’s go into Site Settings!
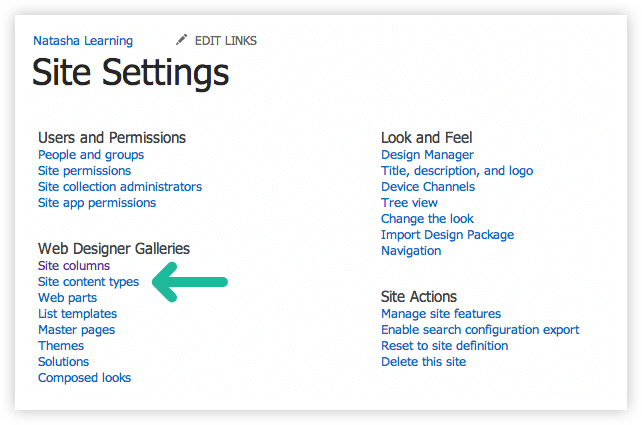
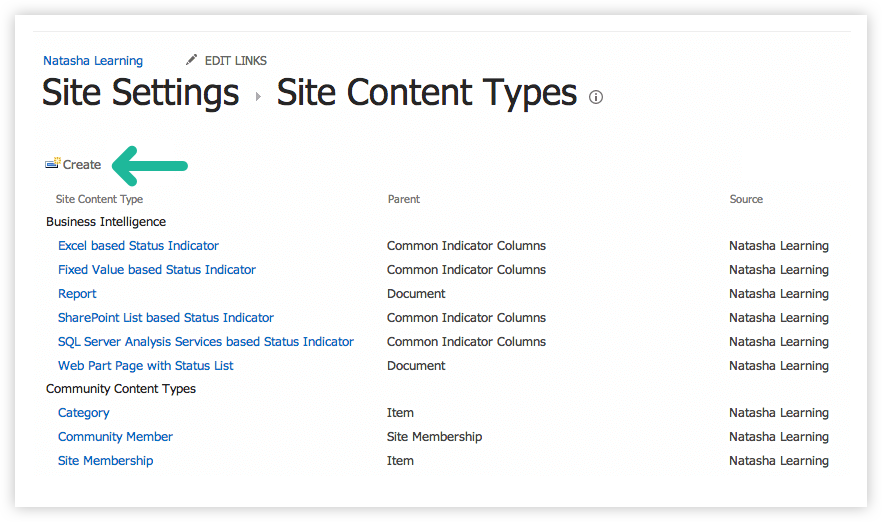
Here, click on Site content types to have access to the wonderful world of content types. You’ll see that you already have content types in your SharePoint by default.
You’ll probably recognize some of them like wiki page, document, task, etc. which are related to the different lists or libraries you can create out of the box in SharePoint.
You’ll also notice that they are grouped by sections, which is just to organize them depending on what they are related to. It makes it easier to locate them when needed.
Every content type is related to a parent. You’re probably wondering: why do they automatically need to be related to another content type? Well, we don’t have the answer, unfortunately (If someone from Microsoft is reading this, we would really like to know why.) Maybe someday we will get to the bottom of this. Meanwhile, let’s move on.
The only content type that is not related to a different parent is the item. It’s the basic one and includes only the title. You can see that under the parent column beside item you’ll find « System ». It’s basically the king or root of content types!
What Is a Parent Content Type in SharePoint?
That’s a good question! A good tip to remember this, is to compare it to a real parent. You inherit the genes from your parents right? So you get a full package from them when you are born.
The same thing happens here. The content type gets the settings and columns from its parent when you create it and then like when you grow up and create your own life path, the new content type can be modified to have its own purpose and use.
To create your Content Type, click on « Create ».
This screen will appear:
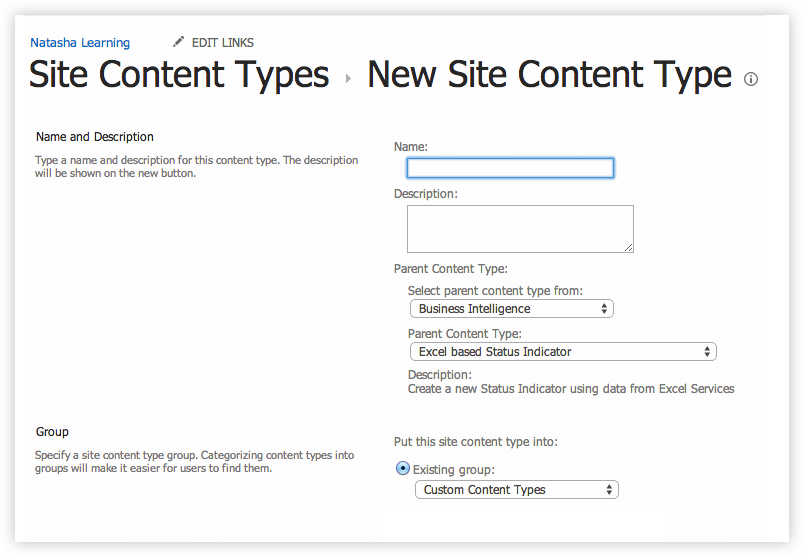
First of all, you should give your content type a name. Choose an easy and clear one so you’ll understand right away what the purpose of it is. Then, you can add a description, but this is optional.
The next part is crucial and yet we don’t know why we need to link the content type to a parent. Even so, read carefully!
When comes the time to choose the parent content type, you need to be sure of your choice. Some of them are just for libraries and some of them are just for lists, but the problem is that you can’t change it afterwards.
So if you chose a parent that is only for list and you need your content type for a library, it won’t be possible. The only real question we will ask ourselves at this point is if the content type we are creating is useful for documents or for items.
Document Content types: For content type that will be used inside Libraries.
List Content Types: Obviously for the ones used inside Lists.
These two groups are the most important to remember.
Here are the basic content types that you will find in each group: Document and Item (the king or root content type).
Remember, choose wisely!
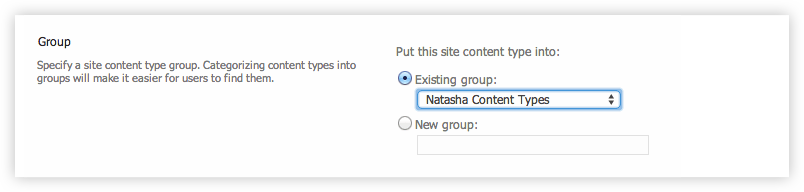
The last section is to decide within which group you want your content type to be, in order to find it easily later. In my own site, I created the group « Natasha Content Types ».
That’s it! We created a new content type that is ready to be modified to serve a purpose.
Choosing Columns in New Content Types
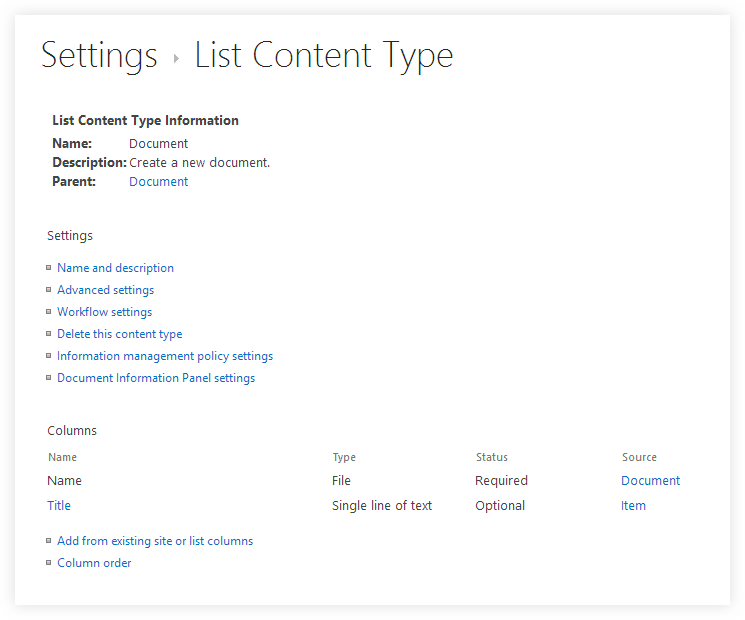
Here’s what you will see once your content type is created.
Of course, you will already have the columns from your parent available which is, in this case, the « Title » column. Personally, I don’t like the title column because I never know what to write there.
The question is: how do you get rid of it?
How to Get Rid of the Title Column in SharePoint?
When you click on the Title column here’s what you see:
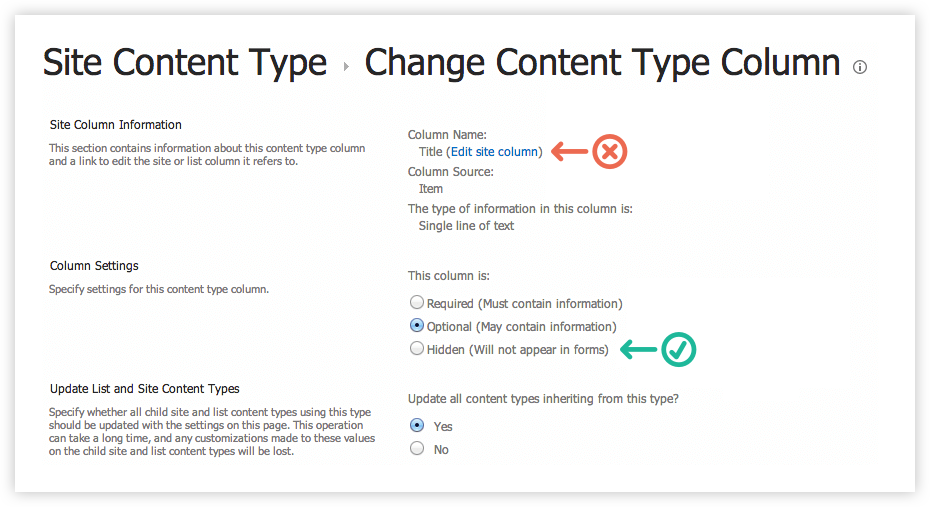
Your instinct tells you to click on “Edit site column” beside Title right? It probably would have been my first move too.
BIG WARNING! Never, never, never do this!
Remember when I said the Item column type is like the king or root of all content types? If you decide to click on « Edit site column » you will change this column EVERYWHERE it’s currently in use. This could be a catastrophe if it happened within a massive site collection.
I’m sure your boss wouldn’t be happy to see the column Task name or any other name instead of title in his day-to-day lists or libraries afterwards.
Now, here’s what you CAN do…
Just click on Hidden and the column won’t appear in the form of your list or library. It’s as simple as that!
Finally, you can create new columns or add columns from existing site columns inside your content type to complete it.
Now it’s ready to be used!
Using your SharePoint Content Types
When you’re in your list or library, you won’t be able to add a content type unless you activate the management of content types.
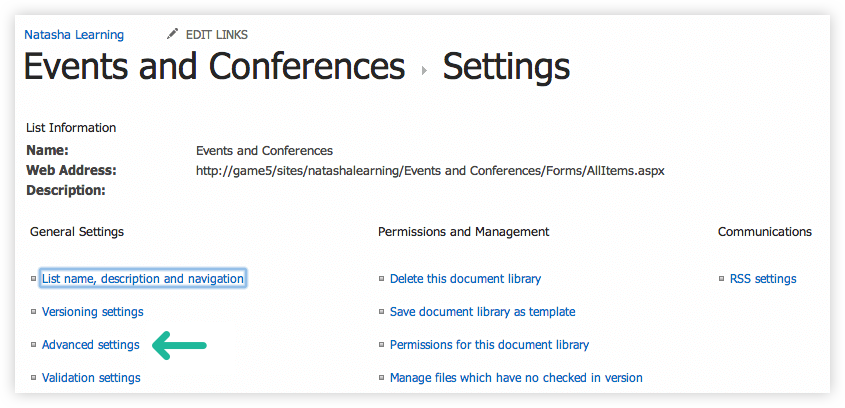
You’ll have to go into your library settings.

This is the screen you’ll see, click on advanced settings.
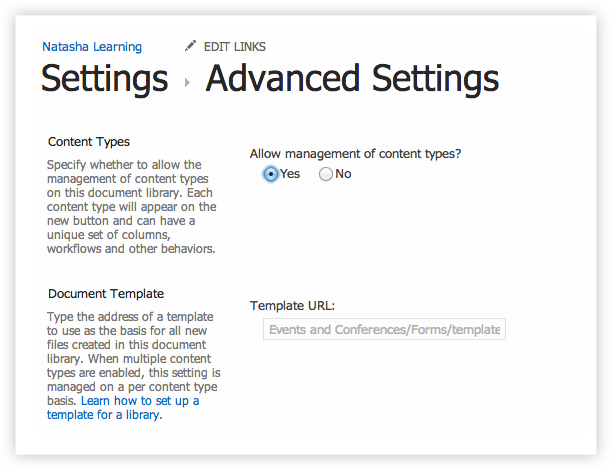
Now just click on “Yes” under “Allow management of content types?”, scroll down to the bottom and click “OK”.
Here’s the section you’ll get when you activate the management of content types:
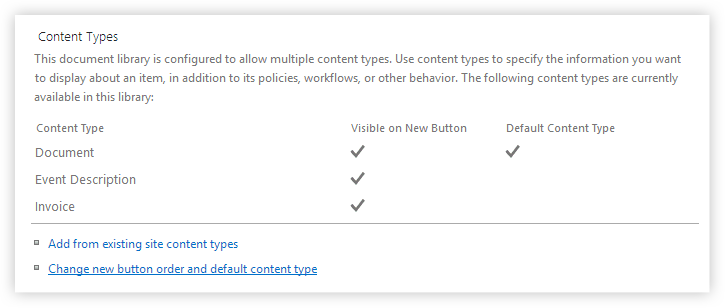
You can add one or more content types inside your library to have different sets of columns available. Just click on “Add from existing site content types”.
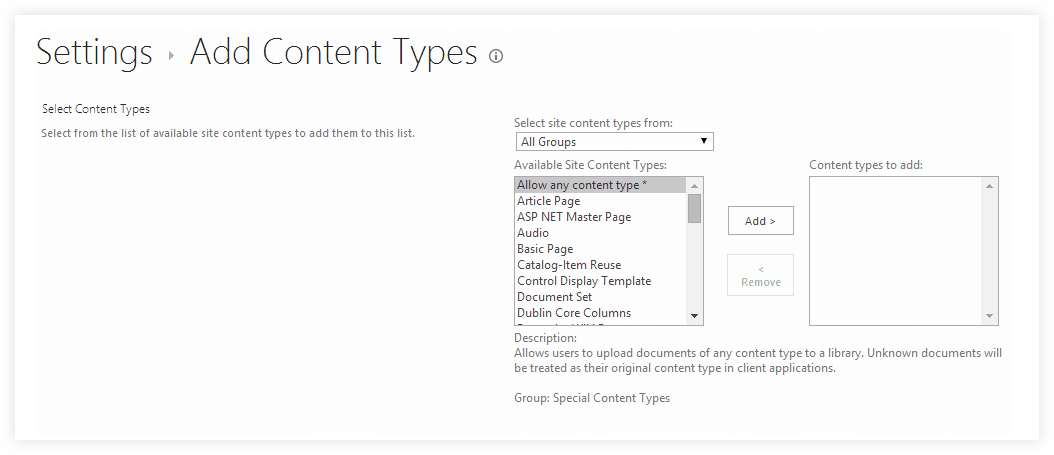
Select the content types you want add inside your library.
Delete a Content Type that is Already Within your Library
First of all, to delete a content type that is already used in your library, be sure that there are no documents using it.
It’s simple to delete a content type from the list that you see in your library settings. Library settings is really important in this case, because you don’t want to delete a content type that is in your site settings. IT’S NOT THE SAME THING!
If you delete a content type in your list/library settings, it’s still available for your other lists/libraries. But if you delete it in your site settings, you completely erase it from your entire site collection.
So, to get rid of a content type like “Document”, click on the name of the content type inside your list.
Then, click on “Delete this content type” and it will disappear from the library or list you’re editing.
Finally, you can edit the content types and columns you added in your list or library as much as you want to end up with the result you had in mind when you created it.
Just click on the element you want to modify and apply the desired changes. Again, don’t worry, you’re not changing it in your entire site collection, only in the list/library, you are editing.
Conclusion
There’s a lot more about Content types that I haven’t covered here for the sake of keeping it simple. By this point, you should be able to understand, create, and use content types at a basic level.
Here are some other things you can do regarding content types:
- Add a document template to a content type
- Add a workflow to a content type